BlastEd xblast level editor : HTML Manual
Visit the XBlast Center today ! (home of BlastEd and many new levels)| Main Index | On this page |
|
| [no image] | #1 Installing BlastEd Unzip all files from the BlastEd archive and make sure you have JAVA installed. note: BlastEd is a JAVA application, you must have Java properly installed on your system. If you have problems installing/using Java please visit java.sun.com. |
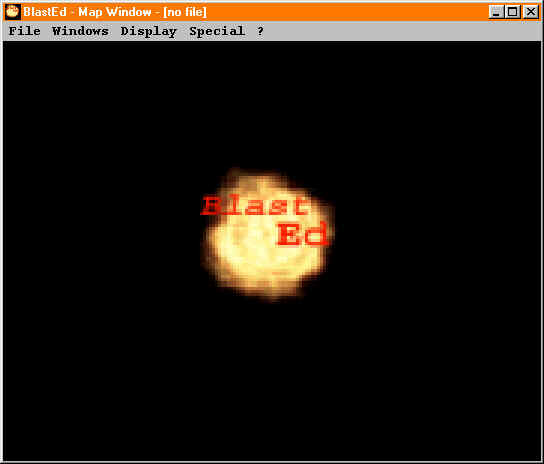 |
#2 Starting it Change to the directory where all .class files have been installed and type: 'java BlastEd' in your terminal. This is the BlastEd splash-screen you should now see, click anywhere in the window to go on. |
 |
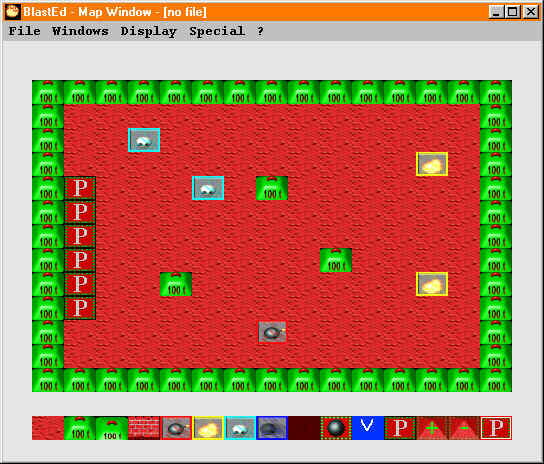
#3 Map Window Basics What you see now is the main window (titled Map Window). The 15x13 red area with green border shows the level (the map). The 15x1 bar at bottom of screen is the toolbar. |
| |
#4 The Toolbar The 14 first items in the toolbar are the tools you'll use to design your level. The 15th item shows the currently selected tool. Here is a description of all tools:
|
 |
#5 Using the Toolbar To select a tool simply click on it, it becomes the active tool (displayed on right of toolbar). Once you've selected the wanted tool, click in the map area to use it. |